
The Screenshots shortcode will embed a screenshot of a remote webpage into your own website. Initially created for the Shor.tt module well over 10-years ago, the tool has since created millions of screenshots reliably and almost without error.
Screenshots isn't one of those features you'll use every day, but like a lot of what you'll find in Yabber, when you require it, it's nice to know it's available.
Screenshot Shortcode
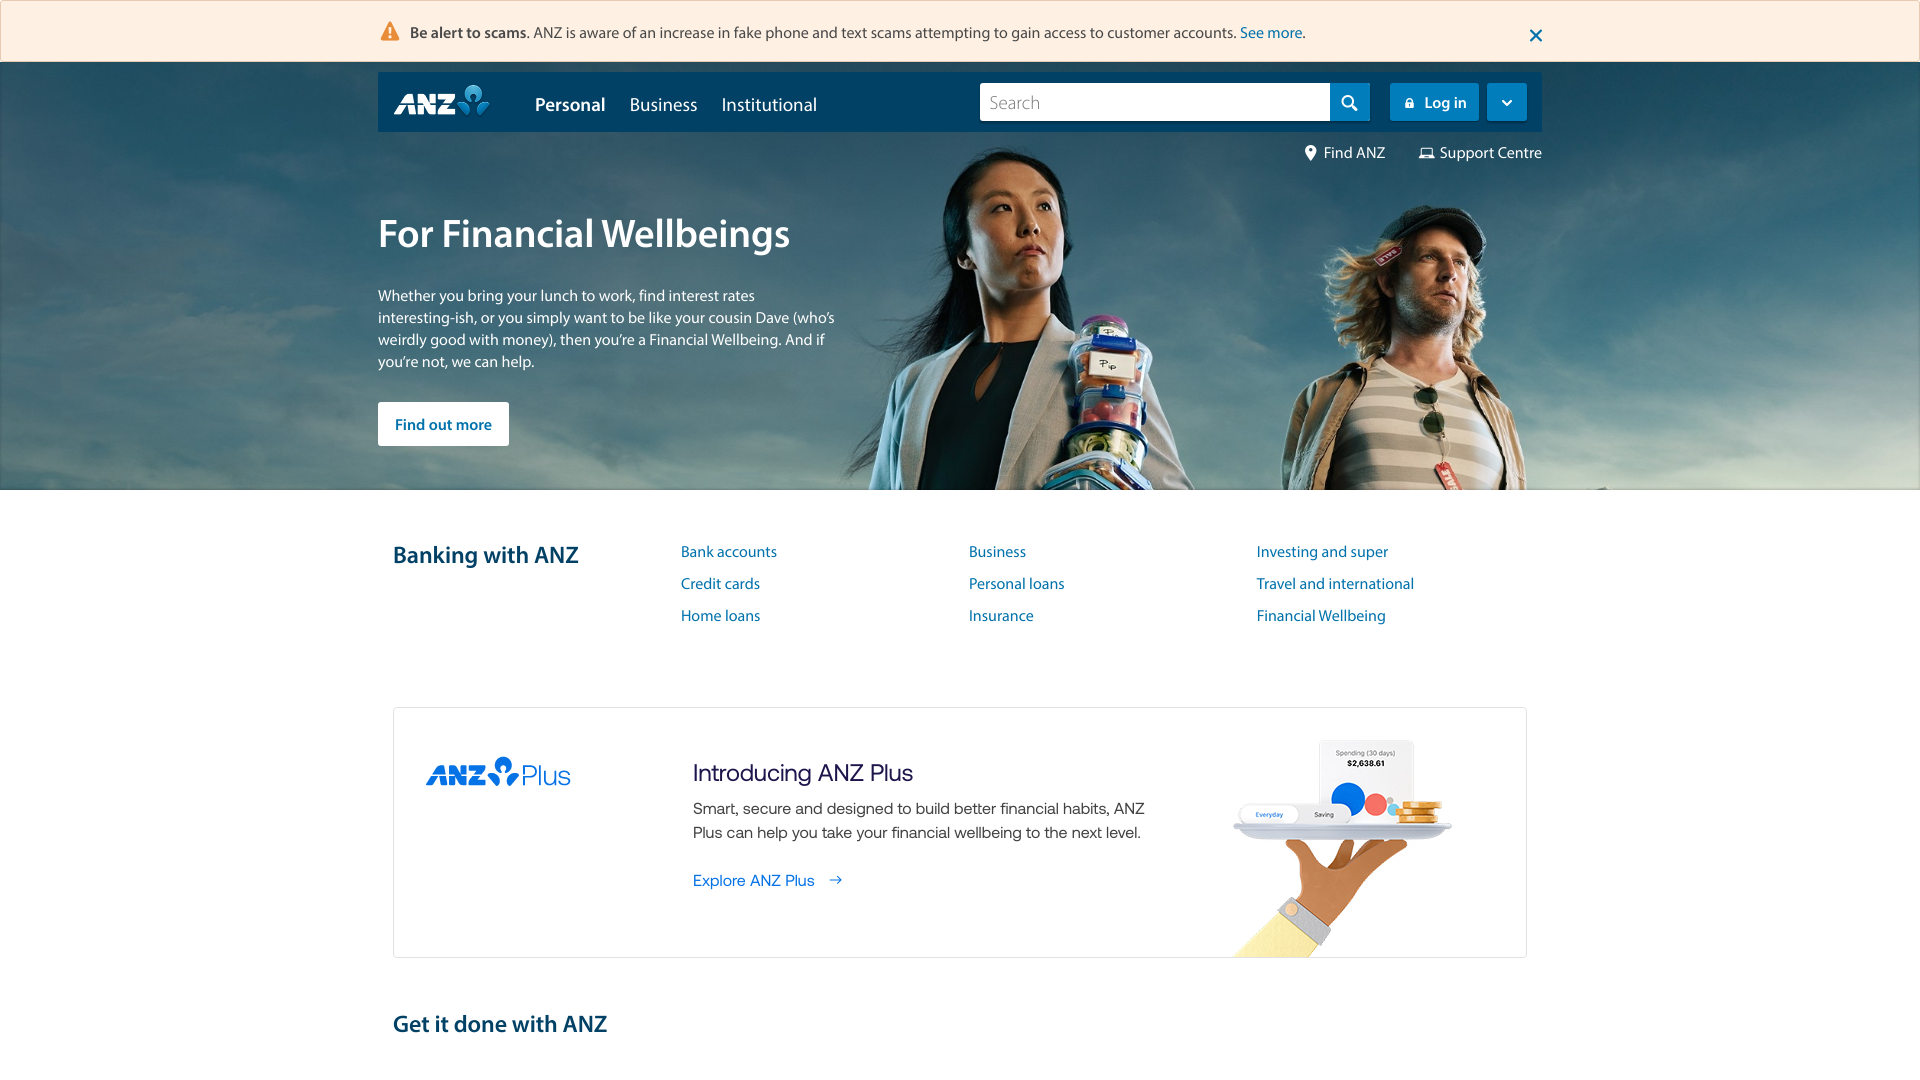
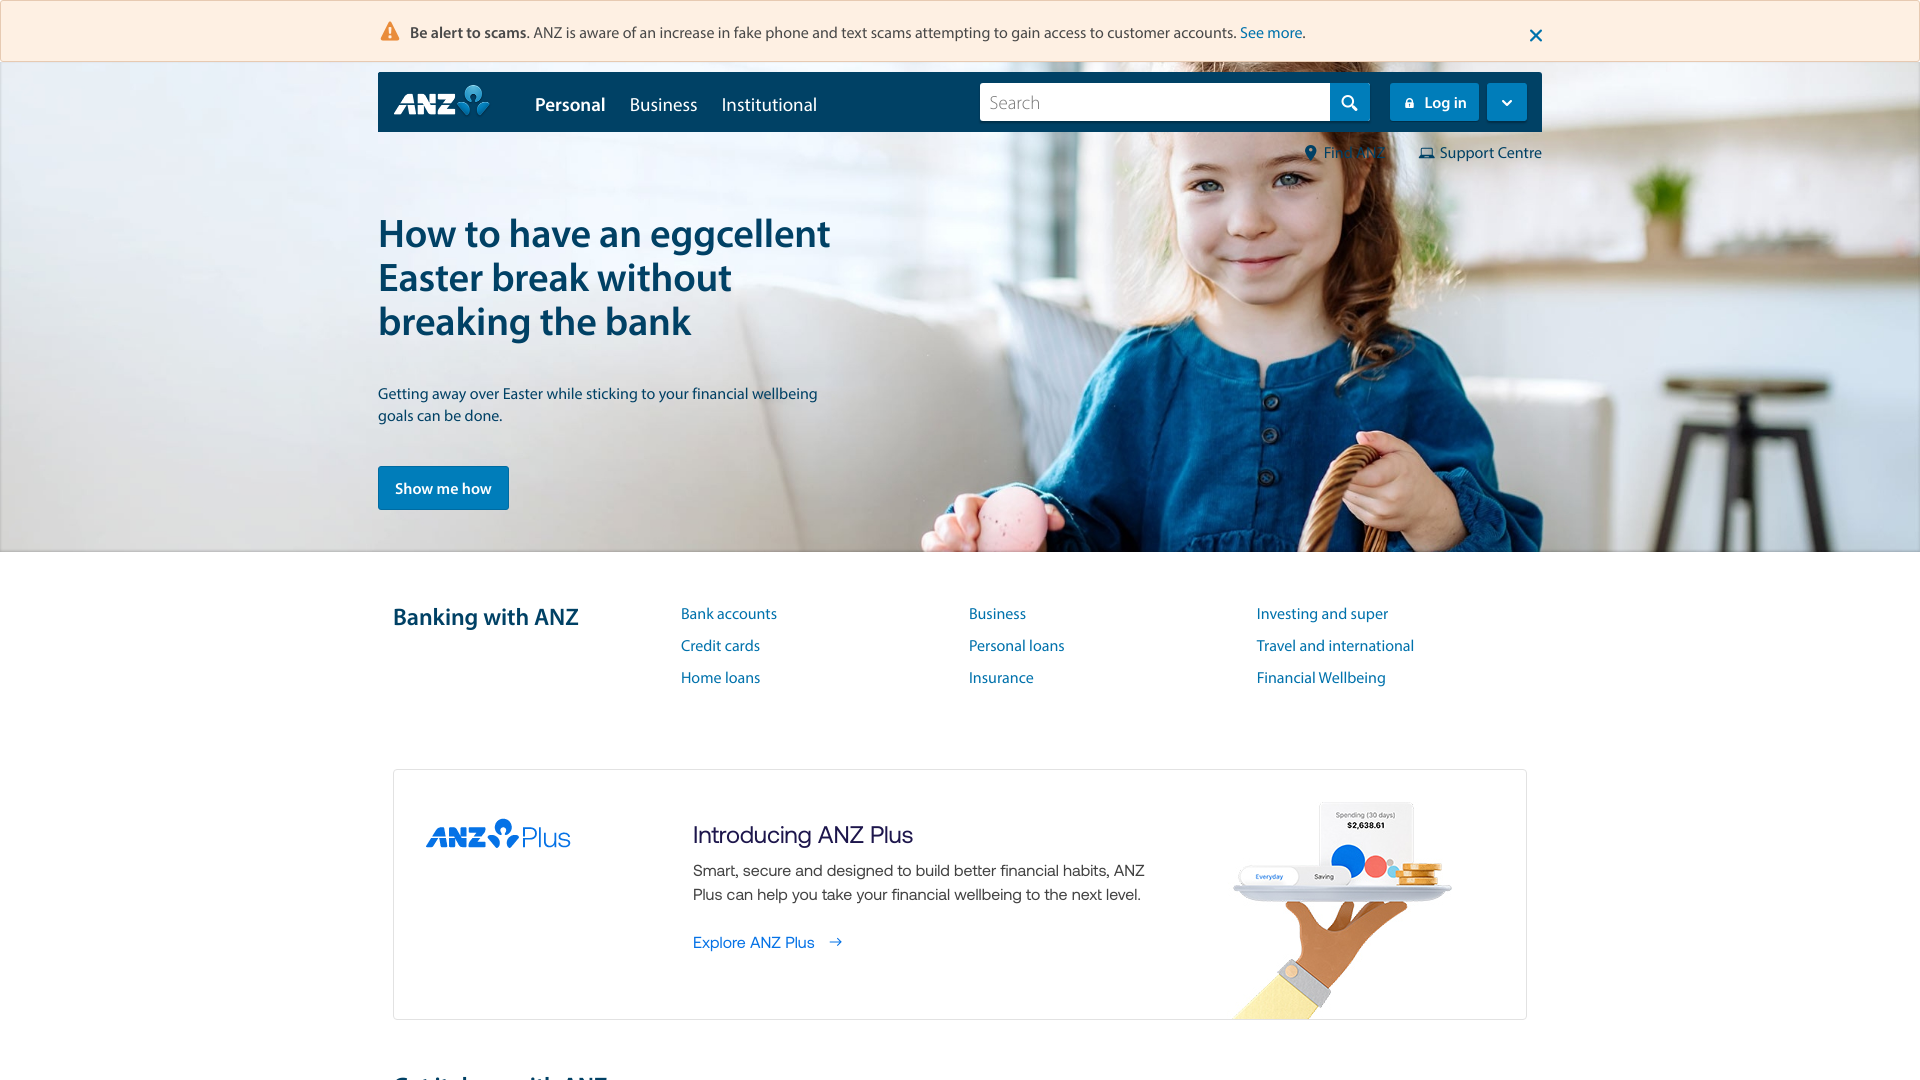
The most common method of returning a screenshot to a page is with shortcode. As an example, the shortcode of [screenshot url="https://www.anz.com.au"] returns the following image.

Pictured: ANZ website, anz.com.au, captured at 2355 on the 2nd April 2023. Interestingly, and slightly off-topic, in the course of writing this article that I noticed ANZ split test their front  page in various ways to assess better performing assets. Clever... but expected (high-trafficked broker websites should do the same). Note that the image served on your website is appropriately scaled and optimised, and the website title is applied as the title and alt tags.
Note that the image is scaled to 1920x1080 pixels by default when it's created, so we import the image into your screenshot cache, import it into your image library, and then apply our image shortcode which scales and optimises the image according to Yabber options, so the image renders in the same way as every other image on your website.
In the next example, we'll create a square image of 1920px x 1920px. Shortcode of [screenshot url="https://www.nab.com.au" w="1920" h="1920"] returns the following (the image returned via our function will scale down to 560px but quality is available up to the requested resolution):

Pictured: NAB website, nab.com.au, captured at 0036 on the 3rd April 2023. It's possible that we'll include a screenshot of lender websites in lender archive pages - TBA. Note that because the Chrome developer tools allow the full manipulation of a page via automation (clicks, form submissions, altering of HTML etc.), many financial provides detect automated actions and prevent any action from taking place. This barrier rarely applies outside the financial space.
The shortcode presents a number of options that alter the image returned to your page. The following attributes apply.
url
url is the fully-qualified URL to any page. A check if made that the page exists before the screenshot is rendered, and if a 404 (Not Found) error is returned that same error is applied as the error code when returned. The URL is base64url encoded as the filename. A png, jpg, or json extension is requried. Images are created as jpg files by default. The handling of 'everything' is obviously managed by the shortcode function.w & h
x & y
q
q attribute is the quality of the resulting jpg image. The value is required in all cases but ignored when rendering png images.f
rh & new
rh attribute is the 'Refresh Hash' and it can be ignored in most cases. It is used to reference a specific screenshot when multiple screenshots exist. The new attribute may be used to force the creation of a new screenshot regardless of the cache interval applied.import
import attribute is used to ensure backwards compatibility with the previous versions of the API, so it can generally be ignored. In previous versions, importing your image into the WP Media Library was an option - it is now used by default as best practice.cache
Various other attributes apply for native scaling (not required since this is handled by the WP media library), effects (rarely used), and creating size libraries (for testing appearance across a range of devices), but it's highly unlikely any of these options will be used on client websites.
Note that generation of an image for the first time can take a couple of seconds, but once created it is obviously returned quickly. Any created image belongs to you, and no image is recycled to other users. If accessing via the server, a rh (Refresh Hash) parameter should be applied as a URL parameter to ensure that the same image isn’t repeatedly generated… although this can be excluded if you wish to regenerate the image after a certain time period.
Once an image is created, it is assigned to your Yabber library, and a full record of each image is returned to you via Yabber’s Screenshot panel.
Screenshots in Yabber
You may create screenshots directly in Yabber via the Image Factory module. For default usage, simply enter a URL and submit. For advanced usage, select the 'Advanced Options' text to return the available options.

Pictured: Creating a screenshot in Yabber. Enter a URL and submit. For advanced usage, select the 'Advanced Options' text to return the available options. A textbox with the full archived image is returned.
Select the 'Review' panel to show all screenshots created via any means.
Screenshot API
For those that are interested, a RESTful API is provided that returns high-quality and immediate results back via a standard request. The feature is available with your standard client API Key. Make contact with us for details.
■ ■ ■
Related Image FAQs
Related FAQs and features relating to the Images and Image creation.
You have a best interest duty requirement imposed upon you that essentially mandates you quickly communicate rate data to your clients - first when the board makes a cash rate decision, and then later when changes are made, or when repricing might be appropriate. Yabber provide a basic facility to create an RBA Cash Rate… [ Learn More ]
The Image Factory - part of the broader Media Factory which is closely connected to the Social Sendify module - is very much a legacy system, but it may still return content that might be of value on Social Media. Generative AI has diminished the value of the point-and-click tools we've used since 2007, so… [ Learn More ]
In a previous FAQ we introduced how to render an . The shortcode is optional but highly recommended because of the freedom and global flexibility that the shortcode provides. There are occasions where you simply want to link to an image rather than render it to a page, particularly when there's a large number of… [ Learn More ]
Straight up - this is going to get weird. You're probably familiar with the standard way in which to add images to your website. You select the 'Add Media' button in your post editor, upload an image, and a bunch of HTML is returned to your page. That's arguably the easiest way of including an… [ Learn More ]
The Screenshots shortcode will embed a screenshot of a remote webpage into your own website. Initially created for the well over 10-years ago, the tool has since created millions of screenshots reliably and almost without error. Screenshots isn't one of those features you'll use every day, but like a lot of what you'll find in… [ Learn More ]
In order to represent your panel of lenders on your website, most brokers will use a silly slider of static images, and others will use a single fixed image comprised of multiple images - just a lazy solution. Your website includes a grid of images that links to the application that'll showcase the primary and… [ Learn More ]
When a PDF image is , we often make an attempt to manufacture an image to represent the uploaded asset. This action is usually based on level of access, and the result is never as persuasive as something you might create yourself. This FAQ will details how to associate an image with a PDF or… [ Learn More ]
Yabber requires a number of images in order to perform certain tasks, such as white-labelling marketing material, created Fact Find report consumer guides, creating SEO markup, and so on. The following images are required: Company Logo. 500px x 500px Black and White Company Logo. 500px x 500px Wide Company Logo. 600px x 100px SEO Logo.… [ Learn More ]
When Testimonials are received - regardless or whether of not they're - we will manufacture a suite of testimonial images that are suitable for social media. These images are all sent to your once created. The Vista assignment will be blank, meaning that they won't send to any social networks; you should review the images,… [ Learn More ]
Media Factory
Related FAQs and features relating to the Video Factory and Image Factory - both part of the Media Factory module.
You have a best interest duty requirement imposed upon you that essentially mandates you quickly communicate rate data to your clients - first when the board makes a cash rate decision, and then later when changes are made, or when repricing might be appropriate. Yabber provide a basic facility to create an RBA Cash Rate… [ Learn More ]
The Image Factory - part of the broader Media Factory which is closely connected to the Social Sendify module - is very much a legacy system, but it may still return content that might be of value on Social Media. Generative AI has diminished the value of the point-and-click tools we've used since 2007, so… [ Learn More ]