
When you have your website delivered, it will include a 'Finance and Property Glossary' at yourDomain/resources/mortgage-glossary, and it will be accessible via the 'Resources' menu and various other locations. Depending on whether we set the website up for you, or you chose to set it up yourself, the glossary may or may not exist on your website, so it's worth checking.
Out of the box, the Glossary includes more than 180 terms, and you have the facility to easily create and edit your own terms. Unlike difficult-to-manage glossary you're familiar with, ours isn't built into a clunky and static WordPress plugin - it's all available from Yabber and integrates with various other applications.
Creating a glossary from scratch takes around 2 minutes. This FAQ will details how the Glossary is managed.
Overlap with Glossary Post Terms: There is significant overlap between this module and that of Glossary Post Terms (or text in a post that automatically carries a tooltip popup with a definition). The Glossary Post Terms is introduced in an FAQ titled "How to Create Website Glossary Tooltip Terms in Yabber" and should be ready in company with this FAQ.
Locating the Glossary Module in Yabber
You will find the Glossary module in Yabber by selecting the small 'info' link in the 'Website' module. You should then select the 'Glossary' submenu item.

Pictured: You will find the Glossary module in Yabber by selecting the small 'info' link in the 'Website' module. You should then select the 'Glossary' submenu item.
Populating Default Glossary Terms
If you navigate to the Glossary 'Review' panel and it's empty, it's likely that you website glossary will also be empty. Your 'Review' panel and website will effectively look like this.

Pictured: If you navigate to the Glossary 'Review' panel and it's empty, it's likely that you website glossary will also be empty.
If empty, we're starting from scratch, and that's find - it'll only take about a couple of minutes to create a full glossary. The first thing to note is the larger arrow points to a green form button that'll populate your glossary with over 180 default terms and definitions. You should select this option and refresh the page. After you submit the button a message will be returned  indicating how many terms were imported.
Your glossary table will now be populated with terms that you may review and edit to your liking. We'll come back to this.
Styling the Full Page Glossary
Before we send our glossary terms to our website, we'll need to first create a style for the full glossary page, and this is managed via the 'Page Style' panel. The panel provides the style options that'll be applied to the Glossary page; it includes colour, layout, alphabetical headings etc. The style panel provides for an accordion style glossary (pictured as an inset) or text glossary, but the latter is almost always used. The accordion glossary is more of a gimmick and does nothing but piss off those that use it (do use the text format unless you have a good reason).

Pictured: We'll need to first create a style for the full glossary page, and this is managed via the 'Page Style' panel. The panel provides the style options that'll be applied to the Glossary page; it includes colour, layout, alphabetical headings etc. Create the glossary in text format and include the alphabetical heading unless you have reasons to exclude it. Ensure you give your style a descriptive name for reference later on. The inset shows the options for an accordion glossary, defined by selecting 'Accordion Glossary Format'.
Ensure you give your style a descriptive name for reference later on.
Sending the Glossary to Your Website
We'll now send the glossary and applicable style to our website via the 'Send' panel. We'll select our website, the style to be applied to the full page glossary, and the style to be applied to post terms (the latter should probably be defined before sending).

Pictured: We'll now send the glossary and applicable style to our website via the 'Send' panel. We'll select our website, the style to be applied to the full page glossary, and the style to be applied to post terms (the latter should probably be defined before sending).
Once the glossary is sent, the full Glossary page will be populated with default terms.
Adding New Terms to the Glossary
There's no limit to the number of new terms you may add to your glossary. To create a term, navigate to the 'Glossary' panel and create a terms and description. Click 'Save'. The term will show in your 'Review' panel.

Pictured: To create a term, navigate to the 'Glossary' panel and create a terms and description. Click 'Save'. The term will show in your 'Review' panel.
You should update your website glossary terms for the newly added term to be shown.
Review and Edit Terms
The 'Review panel is important. From the 'Review' panel you may selectively enable and disable terms that'll display on your website. As we describe in our FAQ on Post Glossary Terms (or text that carries a definition tooltip), you may want some terms to show in your glossary and not as tooltip links in text and visa versa (in fact, you'll limit the in-post glossary text to probably no more than a dozen terms), and we use the 'Review' panel to selectively enable and disable where and how terms will be displayed. By default, all created terms are added to your full page Glossary.

Pictured: The 'Review panel is important. From the 'Review' panel you may selectively enable and disable terms that'll display on your website. As we describe in our FAQ on Post Glossary Terms (or text that carries a definition tooltip), you may want some terms to show in your glossary and not as tooltip links in text and visa versa (in fact, you'll limit the in-post glossary text to probably no more than a dozen terms), and we use the 'Review' panel to selectively enable and disable where and how terms will be displayed. By default, all created terms are added to your full page Glossary.
The large arrow indicates the toggle switch to enable and disable terms for your full page glossary, while the smaller arrow indicates active terms for your in-post glossary text (note that very few terms are active for in-post evaluation).
The 'Review' panel also provides a summary of created styles. Selecting any green icon returns a full summary the stylistic attributes, while selecting the edit icon returns you to a page where you may edit that resource. Since Yabber is a multi-website system, if making any edits you will be required to send that data to your website via the 'Send' panel (with changes taking effect immediately).
The Result
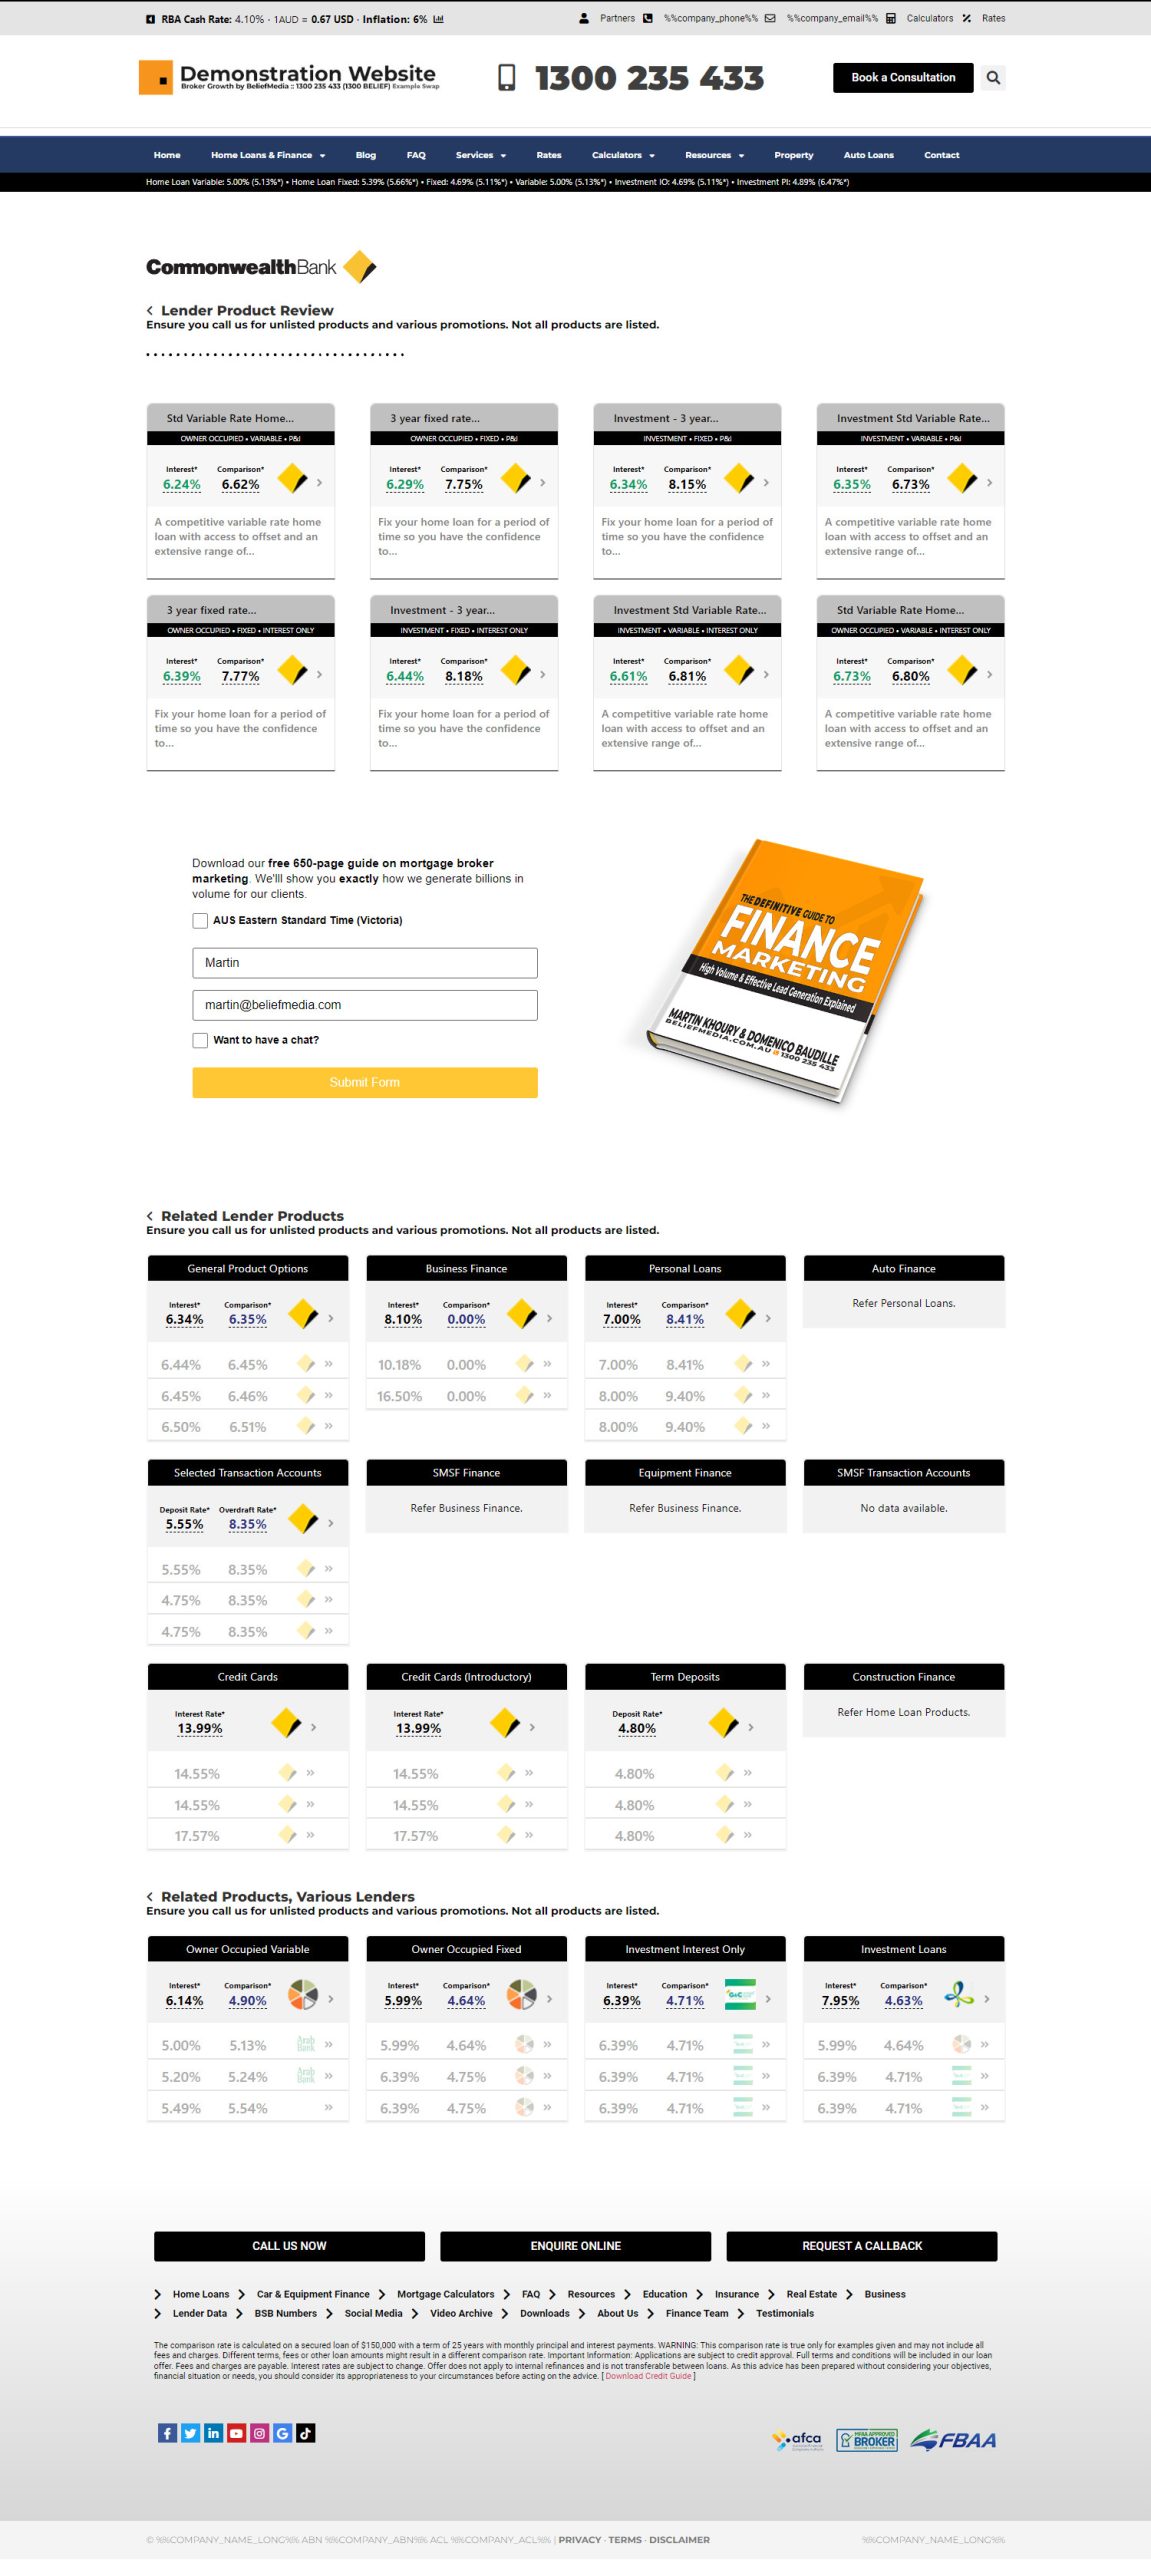
It only seems appropriate to share a full screenshot of the resulting Glossary (albeit as a low-quality image).

Pictured: The glossary as it'll appear on your website. We've used the textual style with and Alphabetical index.
Note the Simple Panel subscription form assigned to the top of the page. This is because every page on your website is an organic entry point to your website, so every p age requires a lead magnet and subscription form. Assign via the 'Form Assignment Panel'.
■ ■ ■
Related Linking FAQs
Related Linking FAQs. Includes 'Series' blocks.
A short or truncated URL is rooted in olden day Usenet and bulleting board services. A user would often post a link to a discussion, and that link would line wrap or become difficult to use. The solution was to take a short URL that would link to the longer URL. One of the first… [ Learn More ]
An inline frame (iframe) is a HTML element that loads another HTML page within the document. It essentially puts another webpage within the parent page. The modal link we're about to describe loads a very simple modal and then loads the content of another page within that iframe. Because it's a feature that's rarely used,… [ Learn More ]
Conditional Content is content that is delivered to a user based on resolved borrowing objective, occupation, campaign links, or interest. In the property field the Interest might be a particular type of property or a category of buyer. Supported by BeNet, the use of Conditional Content must be considered an advanced feature, although those… [ Learn More ]
In this FAQ we'll provide the basic shortcode necessary to return a video modal to your page. There are two methods for returning a video modal: a Yabber modal, and a full screen modal, with the former preferred because it is fully tracked and integrated with the Conditional Framework.
Modal Module Overview:
Your website… [ Learn More ]In an FAQ titled How to Define and Send Lender-Specific Videos for the Lenders Archive and Product Pages we looked at how to assign videos to the Lender Product Archive and Pages on your website. Familiarity with the former module is required, as this FAQ will simply show you how to link directly… [ Learn More ]
Your website modal module is the most sophisticated in the industry, and one of the most powerful systems created for any industry. A large number of FAQs reference how the modal system functions, with most of the functionality focused on entry and exit modals, with the modal resolved by your preference, interest or resolved borrowing… [ Learn More ]
Every link on your website must be tracked - it's a marketing imperative, and one of the defining features of a funnel... and this obviously includes download links. This FAQ will show you how to create a basic Download Link with the universal link shortcode.
Creating a Download Link
There are a few ways of… [ Learn More ]Linking from one page to another is a bread and butter website feature, but the standard method of linking is static and prone to failure, so we've introduced our own 'dynamic' method of internal and external linking that mitigates the weakness in links that are created in the standard WordPress editor. Our method is optional… [ Learn More ]
In an FAQ titled How to Update the ‘Every Page’ Compliance Footer and Disclaimer we described how to add or alter the General Disclaimer at the bottom of every page. This area includes your general disclaimer, Licencing details, ACL or Credit Rep attributes, or anything else your parent ACL holder deems necessary. That same… [ Learn More ]
Quite frankly, the Lender Archive Page link shortcode is rather pointless because the standard link shortcode is arguably more effective. The reason it exists is because we have other plans for how the shortcode is to be used. So, if you're linking to a specific lender archive, such as that for the Commonwealth Bank ,… [ Learn More ]
A tooltip is simply a simple bubble that appears above text when a user hovers over a particular term or string of text, such as this link. To render the last example, we've used the [tooltip] shortcode, but we discourage its use - in fact, the shortcode itself and available attributes… [ Learn More ]
In a previous FAQ we introduced how to render an image to your website with optional shortcode. The shortcode is optional but highly recommended because of the freedom and global flexibility that the shortcode provides. There are occasions where you simply want to link to an image rather than render it to a page,… [ Learn More ]
Straight up - this is going to get weird. You're probably familiar with the standard way in which to add images to your website. You select the 'Add Media' button in your post editor, upload an image, and a bunch of HTML is returned to your page. That's arguably the easiest way of including an… [ Learn More ]
Website Post Glossary Tooltip Terms are those terms in your glossary that, when used on your website in articles, will automatically carry a tooltip term sourced from your glossary. The text evaluated for automated tooltip terms are selectively sourced from your Glossary. This FAQ will show you how to use the module. You should first… [ Learn More ]
When you have your website delivered, it will include a 'Finance and Property Glossary' at yourDomain/resources/mortgage-glossary, and it will be accessible via the 'Resources' menu and various other locations. Depending on whether we set the website up for you, or you chose to set it up yourself, the glossary may or may not exist on… [ Learn More ]
The Page Titles module creates and manages titles on around 35 internal (secondary) pages. The title block consists of a title with link, secondary link block, and optional block of text. All title inclusions are optional. An update will shortly take effect that permits the inclusion of a third link of text in the standard… [ Learn More ]
A Link Block is a group of links that may be presented in various ways, such as in accordion panels, a list, or in titles. A number of other modules may reference Link Blocks to ensure that the content returned to your website is dynamic and easily managed. You will find the Link Block options… [ Learn More ]


